
Preserving Summer’s Bountiful Harvest Part 2 (Freezing and Pickling)
While canning is a more labor intensive and involved process, freezing and quick pickling are much less so. These food preservation techniques are great for those who want to enjoy the fresh flavors of summer without all the muss and fuss! So, let’s get started! You’ll be amazed at how easy it is as you follow these simple instructions!
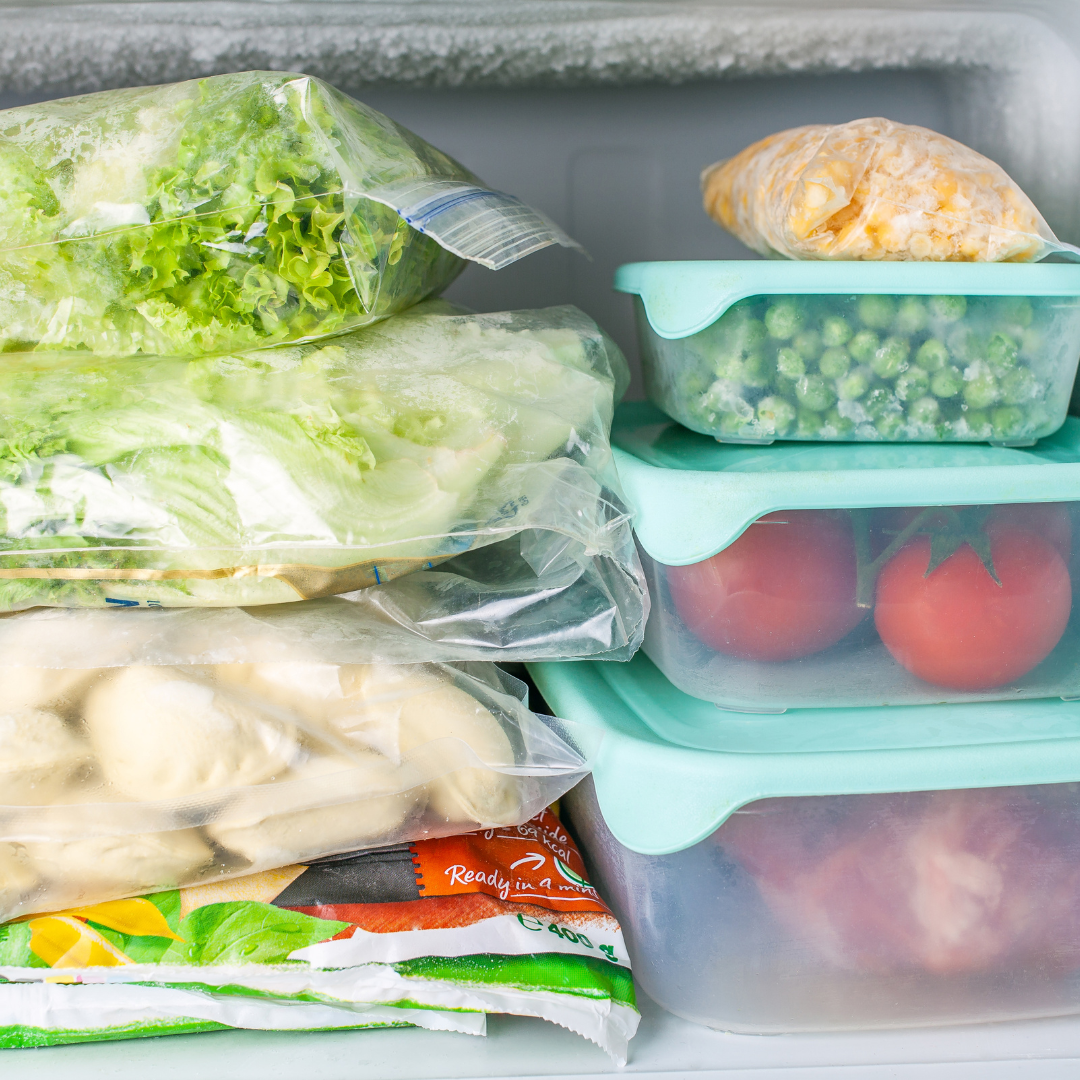
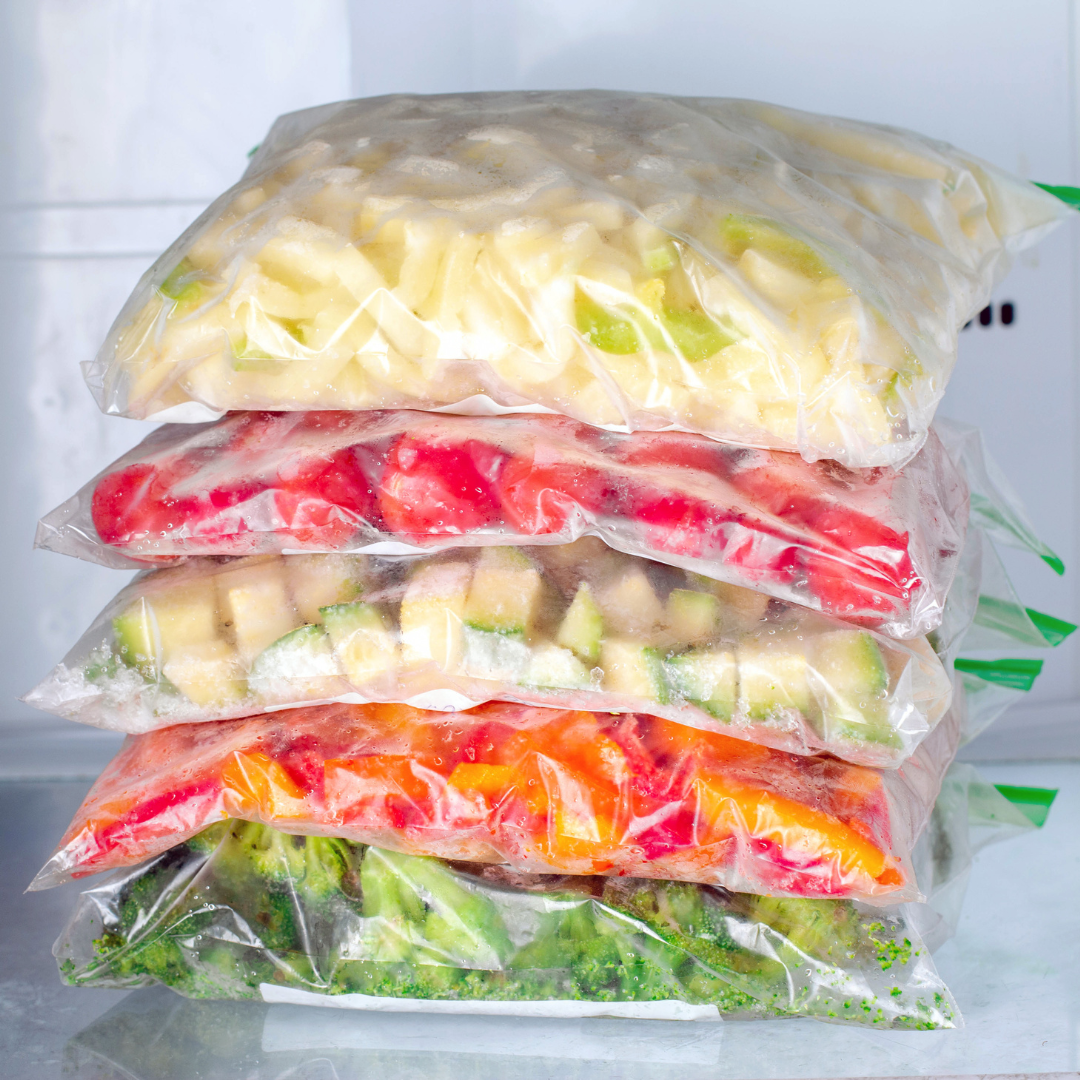
Freezing
Freezing foods at their peak of freshness is one of the simplest and least time-consuming ways to preserve foods at home. It doesn’t sterilize food; the extreme cold simply halts growth of bacteria and slows down changes that affect quality or cause spoilage in food. You can freeze most fresh vegetables, fruits, meats, fish, breads, cakes, and clear soups and casseroles.
The keys to freezing food are: to make sure it’s absolutely fresh, freeze it as quickly as possible, and keep at a proper frozen temperature of 0 degrees.
Sweet Freezer Pickles
If you love sweet pickles, you’re sure to love these! Special thanks to the dear friend that shared this super easy and delicious recipe...
Ingredients:
- 2 quarts unpeeled, thinly sliced cucumbers
- 1 large onion, sliced
- 2 tbsp salt
- 1 ½ cups sugar
- ½ cup white vinegar
Instructions:
Mix cucumbers, onion and salt thoroughly and let stand for 2 – 2 ½ hours. Drain completely. Mix together sugar and vinegar and add to the drained cucumber mixture. Mix thoroughly and let stand for 15 minutes. Spoon into freezer containers, leaving ½ inch headspace. Freeze immediately. To serve, thaw in the refrigerator and serve cold.
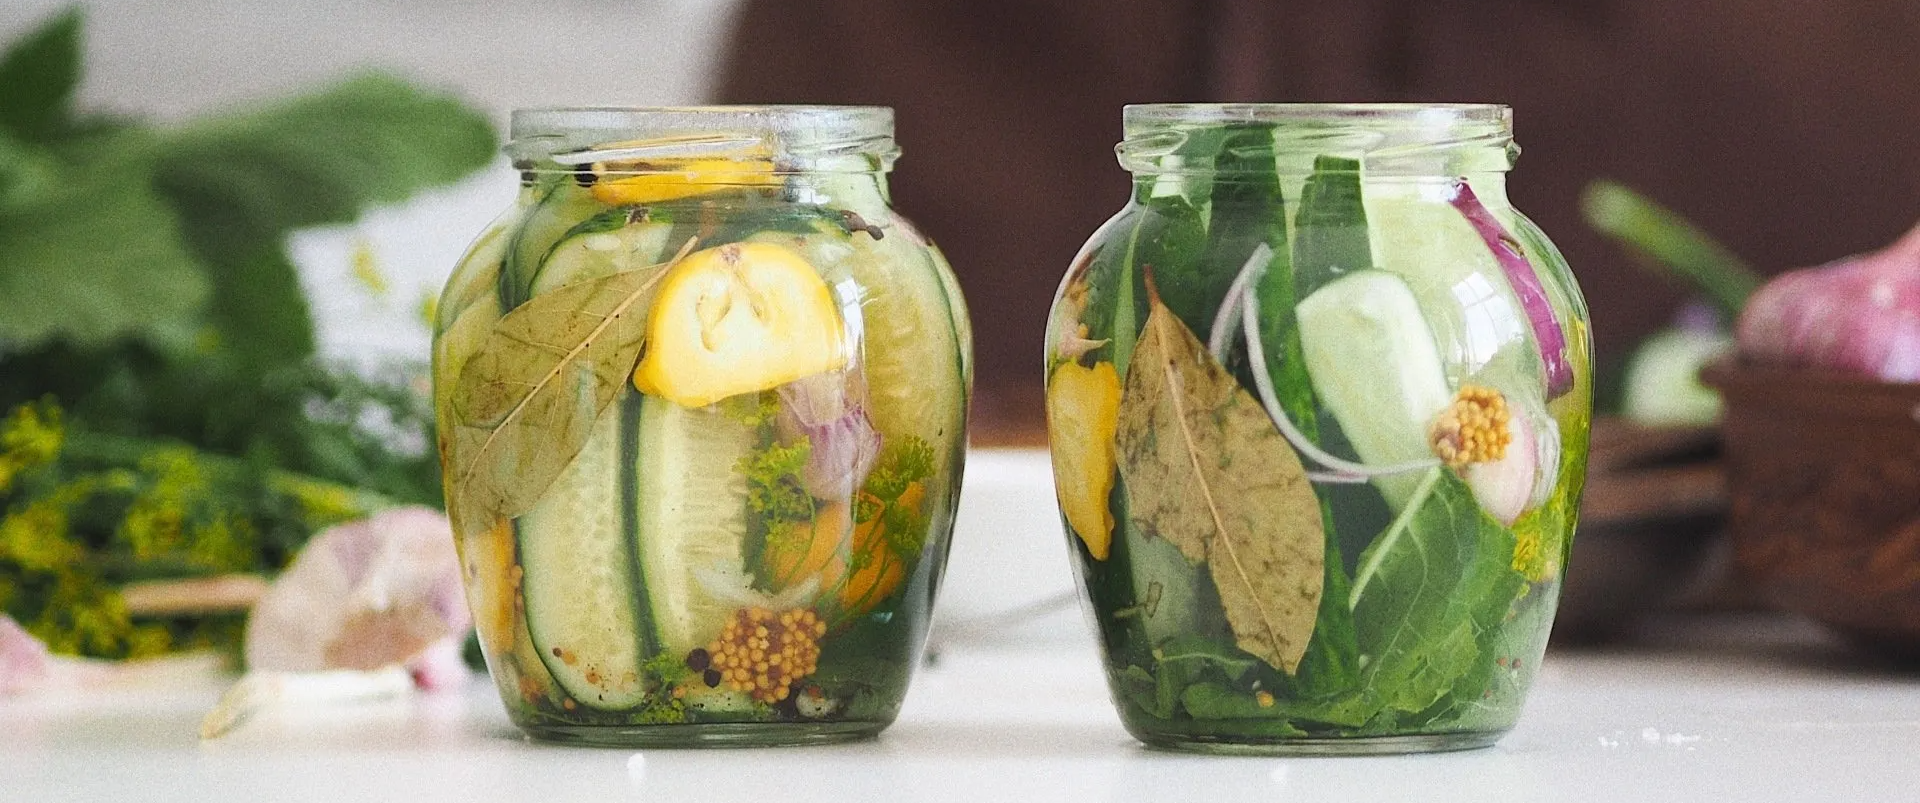
Quick Pickling
Almost any fresh vegetable can be quick pickled in a vinegar, water, salt solution, along with herbs and spices, and then stored in the refrigerator. Quick pickling extends their shelf life, adds new flavor, and best of all, is quick and easy! Add pickled veggies to a charcuterie board or salad, serve as a delicious side or snack, even garnish a cocktail.
DIY - Quick Pickling Any Vegetable
- 1 lb. fresh vegetables such as cauliflower, cucumbers, carrots, beets, red onions, cherry tomatoes, green beans, asparagus*
- 2 sprigs fresh herbs, such as thyme, dill, or rosemary (optional)
- 1 to 2 tsp. whole spices, such as black peppercorns, coriander, or mustard seeds (optional)
- 1 tsp. dried herbs or ground spices (optional)
- 2 cloves garlic, smashed or sliced (optional)
- 1 cup vinegar such as white, apple cider or rice
- 1 cup water
- 1 T. kosher salt or 2 teaspoons pickling salt
- 1 T. granulated sugar (optional)
- Wash 2 wide-mouth pint jars, lids, and rings in warm, soapy water and rinse well. Dry well.
- Wash and dry the vegetables. Peel carrots and trim the ends of the beans if pickling. Cut vegetables into desired shapes and sizes.
- Divide the herbs, spices, or garlic you are using between the jars.
- Pack the vegetables into the jars, making sure there is a ½ inch of space from the rim of the jar to the tops of the vegetables. Pack them in as tightly as possible without smashing.
- Place the vinegar, water, salt, and sugar (if using) in a small saucepan over high heat. Bring to a boil, stirring to dissolve the salt and sugar. Pour the brine over vegetables, filling each jar to within ½ inch of the top. You may not use all the brine.
- Gently tap the jars against the counter a few times to remove all the air bubbles. Top off with more brine if necessary.
- Place the lids on the jars and screw on the rings until tight.
- Let the jars cool to temperature. Store the pickles in the refrigerator. The pickles will improve with flavor as they age – best to allow 48 hours before opening.
Store in the refrigerator for up to 2 months.
*Cherry tomatoes are best left whole. Although not necessary, green beans or asparagus can be blanched in boiling water for two to three minutes and then shocked in an ice bath to preserve their color.
(Adapted from
kitchn).