
Preserving Summer’s Bountiful Harvest - Part 1 (Canning)
Do you have an overabundance of vegetables from your garden or simply can’t use all that you’ve purchased? Don’t let that deliciousness go to waste! Take advantage of the peak produce growing season and savor all that delicious and fresh flavor throughout the year! Stretch the season and your dollars by canning so you can enjoy later.
No refrigeration is needed making storage easier, which is why this method of preservation is popular. Canning is a process that applies heat to food that’s sealed in a jar in order to destroy any bacteria that can cause food spoilage. Proper canning techniques stop this spoilage by heating the food for a specific period of time and killing unwanted bacteria. During the canning process, air is driven from the jar and a vacuum is formed as the jar cools and seals.
When canning remember:
- Use only fresh, unblemished produce
- Have everything organized before getting started
- Always follow proper canning and freezing instructions
- Inspect canning jars and rims before canning; discard chipped jars and rusted or distorted rims
- Purchase new lids (never reuse lids) and other canning supplies if needed
- Sterilize jars and new lids
- Keep lids in a simmering pan of water while placing produce in sterilized canning jars
Only use standard canning jars that are made specifically to withstand the heat necessary in the home canning process. Do not use empty pickle or mayonnaise quart-sized jars!
Canning Process
Water-bath canning (also referred to as “hot water canning”) uses a large kettle of boiling water. Filled jars are submerged in the water and heated to an internal temperature of 212°F for a specific period of time. This method is used for processing high-acid foods, such as fruit, items made from fruit, pickles, pickled food, and tomatoes.
Pressure canning uses a large kettle that produces steam in a locked compartment. The filled jars in the kettle reach an internal temperature of 240°F under a specific pressure (stated in pounds) that’s measured with a dial gauge or weighted gauge on the pressure-canner cover. Be sure to follow the manufacturer's instructions. Higher temperatures are required to destroy botulism bacteria in low acid foods like meat, fish, poultry and all vegetables except tomatoes. The only safe way to can these foods is by using a pressure canner, which provides a higher temperature of 240°F, higher than that of boiling water (212°F).
Now is a great time to preserve so that wonderful garden fresh flavor can be enjoyed during the colder months.
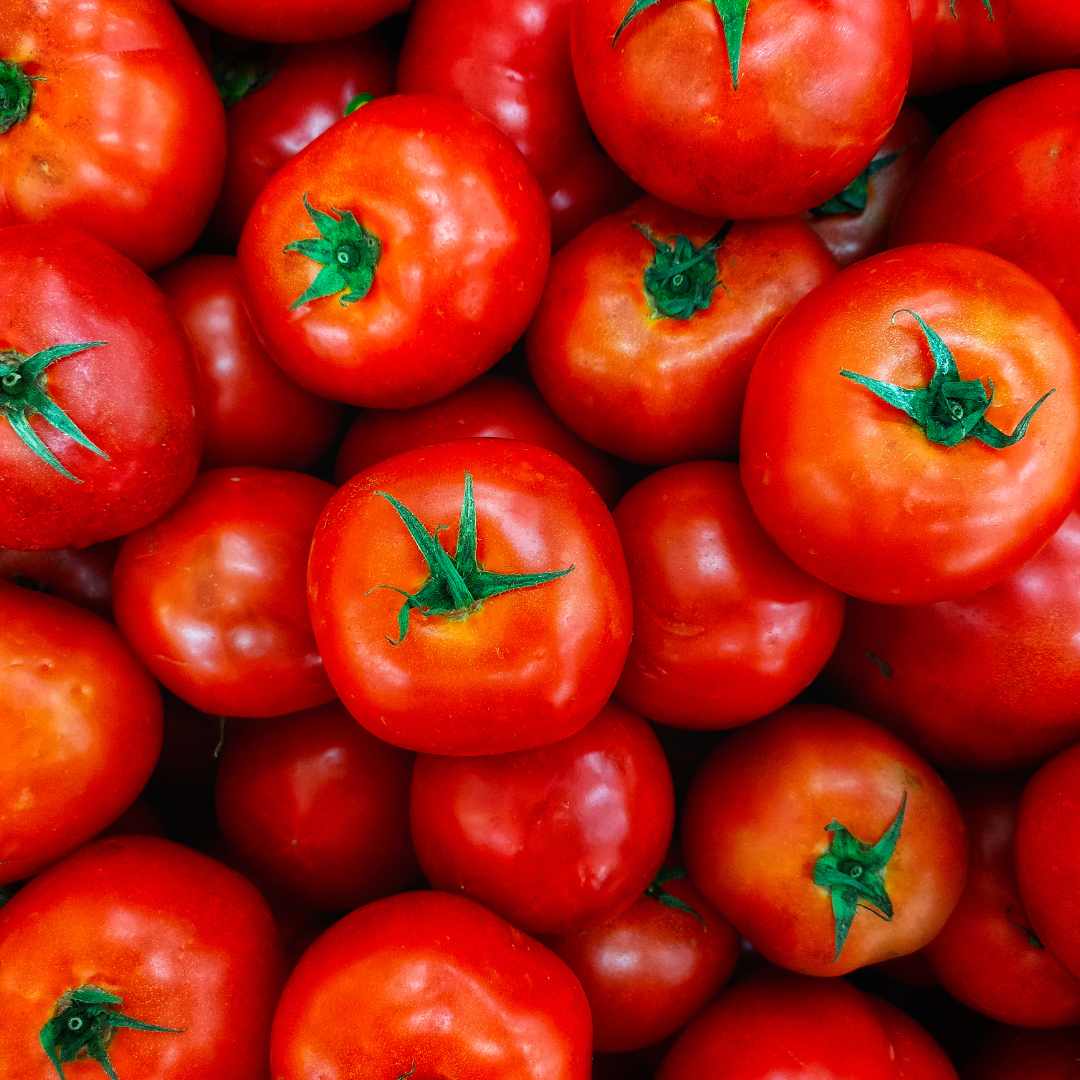
- Wash tomatoes
- Blanch tomatoes in boiling water; 30-60 seconds, until skins split, then dip in cold water
- Peel and cut in halves or quarters
- Pack in hot sterilized jars
- Add 1 tsp. canning salt to each quart
- Leave about ½ inch head space - head space is the space between the food or liquid and the top of a jar
- If jars are too full, some of the contents bubble out so that jars may not seal properly
- Put sterilized tops on jars followed by rims
- Place filled jars into boiling water canner and process for 25 minutes
- Remove from canner and allow to cool
- Tighten rings on jars when cooled completely
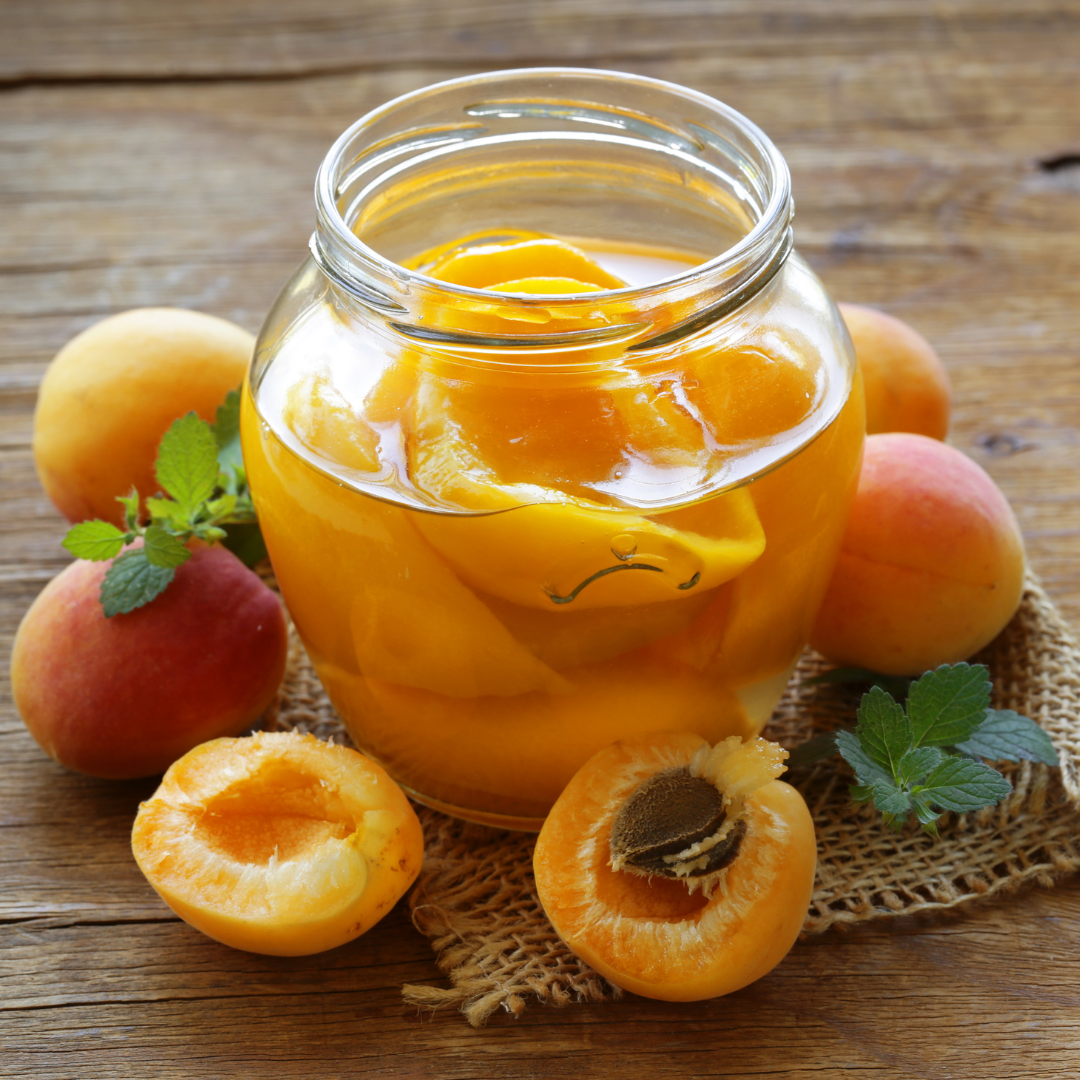
Fruits like peaches, nectarines, plums and pears are better suited to canning than other fruits.
- Blanch in boiling water for 30-60 seconds, then dip in cold water
- Once cool enough to handle, peel, cut in half and remove pits
- Add lemon juice to prevent darkening
- Pack fruit halves or quarters in sterilized jars
- Combine 2 ¼ cups sugar with 5 ½ cups water, and heat on stove until sugar is dissolved (keep warm)
- Pour sugar mixture over the fruit in the jars, leaving about ½ inch head space
(The remaining steps are the same as those used above with tomatoes)
- Put sterilized tops on jars followed by rims
- Place filled jars into boiling water canner and process for 25 minutes
- Remove from canner and allow to cool
- Tighten rings on jars when cooled completely
Storage and Usage
Canned foods need to be kept cool and dark for the longest storage. Avoid storing them near a heat source such as a furnace, hot water heater or in a sunny area.
For the best quality, use canned foods within one year. As canned food ages, the quality of the food declines, although it’s still safe as long as the seal is intact and there is no sign of spoilage. Bacteria that have not been destroyed by proper processing can become active. The gas pressure that builds up in the jar after spoilage occurs will break the seal.
Regardless of the age of the stored food, always boil low acid foods (vegetables, meats and mixtures) that have been home canned for a full 10 minutes to destroy any possible botulism toxins. Starchy foods, such as corn and lima beans, should be cooked for 20 minutes. Never use food right from the jar and DO NOT taste prior to boiling! Boiled foods may be safely eaten if there has been no foaming or off-odor during boiling.
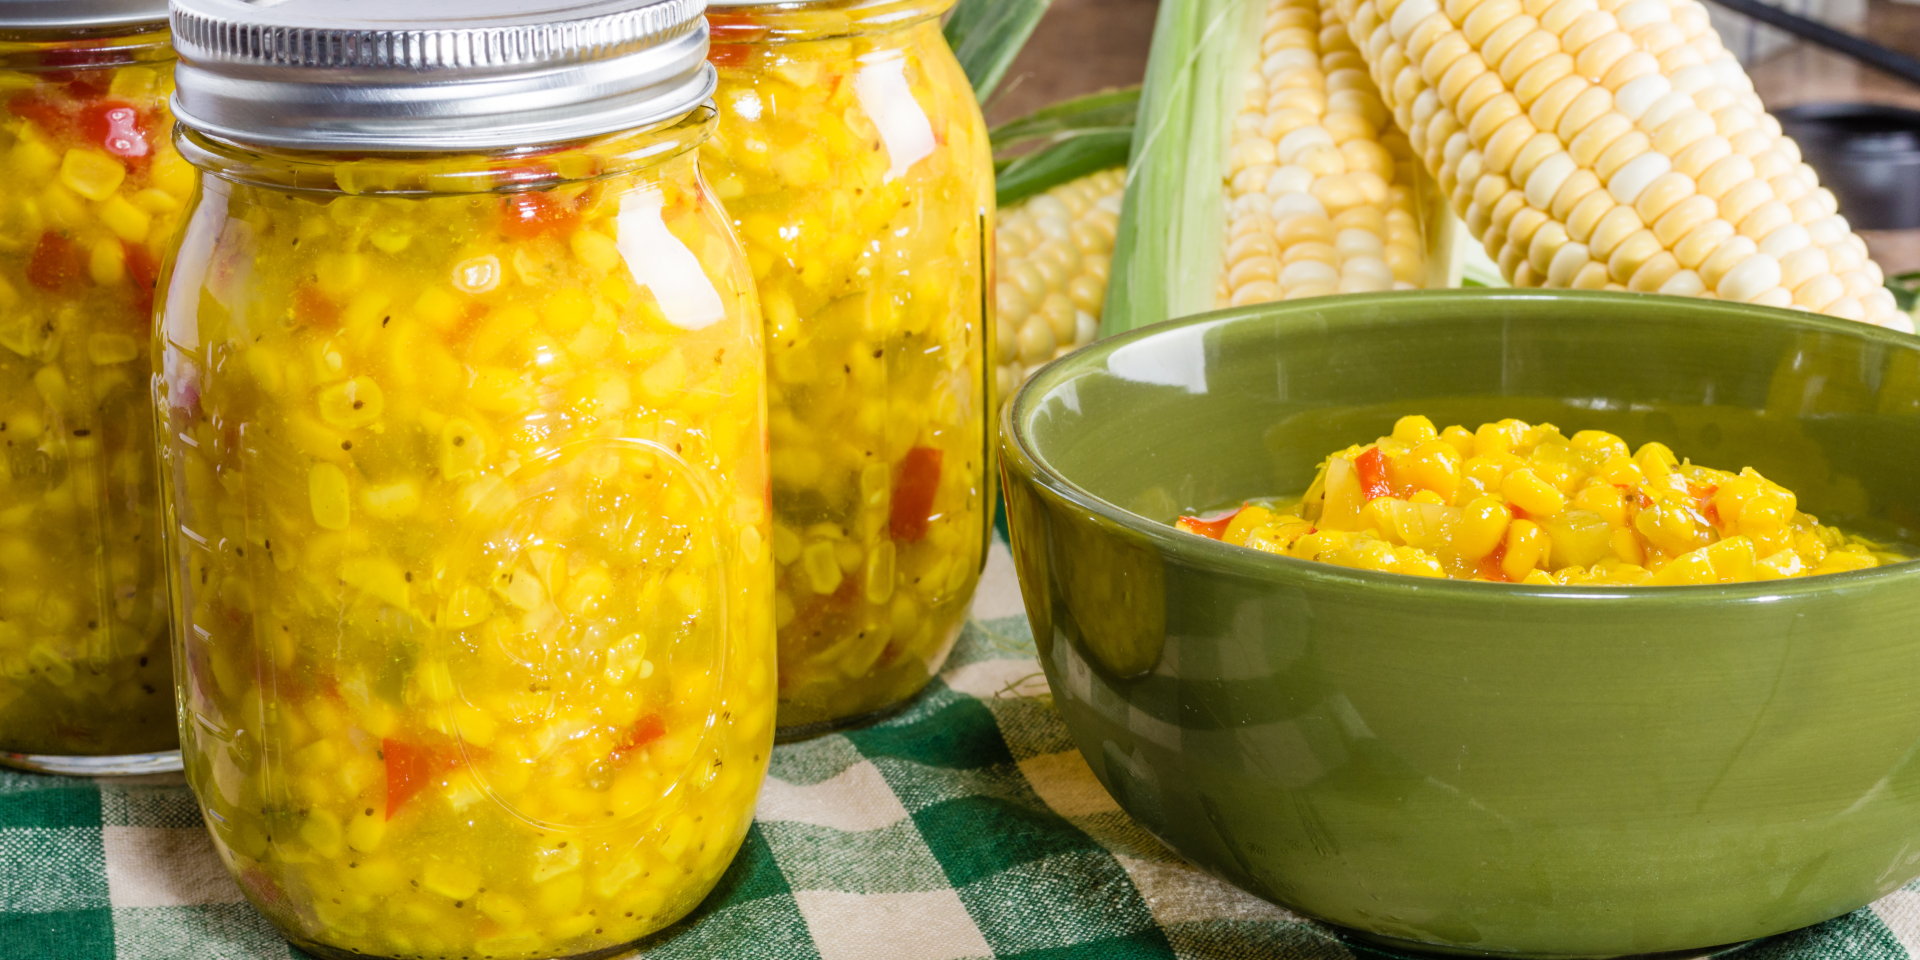
Enjoy the taste of summer corn all year long with this delicious corn relish. Serve as an easy side or on burgers, hot dogs, fish, grilled chicken and more!